ZenVirZan":1lbn8cku said:
Perihelion":1lbn8cku said:
I can give you pointers if you need them.
Thoughts on doing a basic tutorial? I know Strawbs and I would definitely be interested.
Even if it's just a breakdown on your personal workflow, any information is useful.
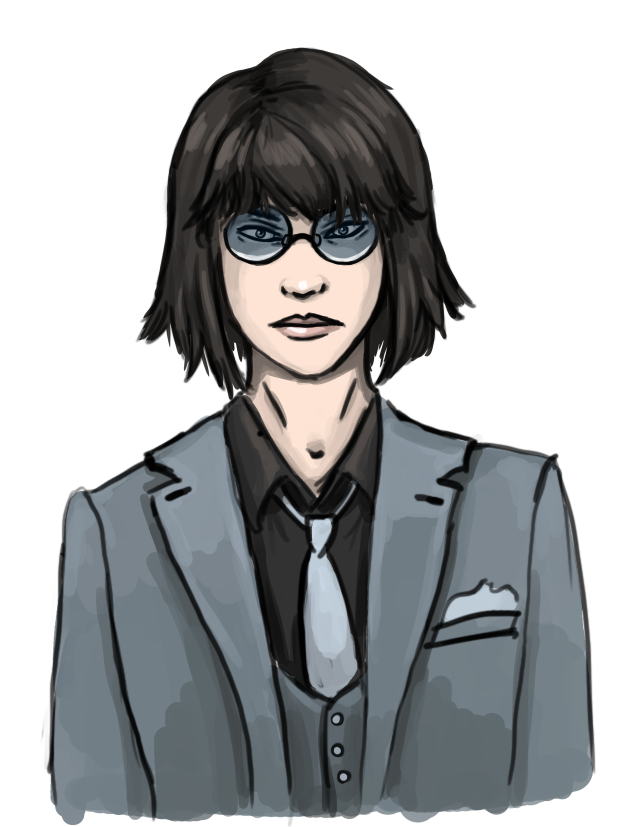
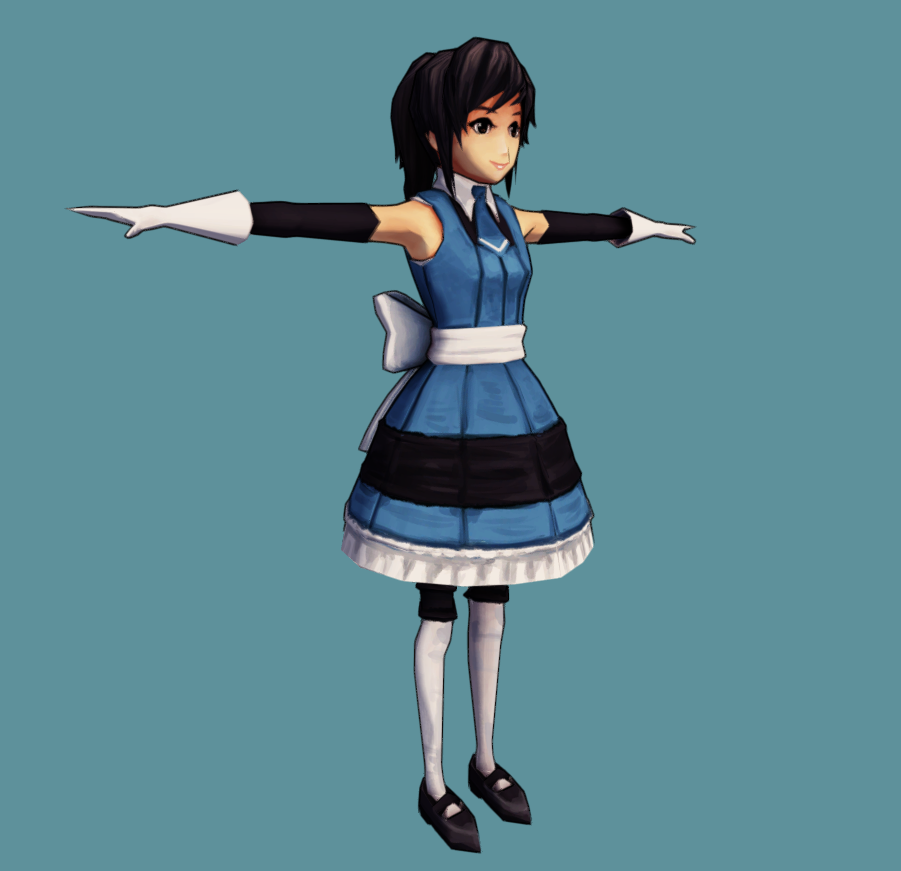
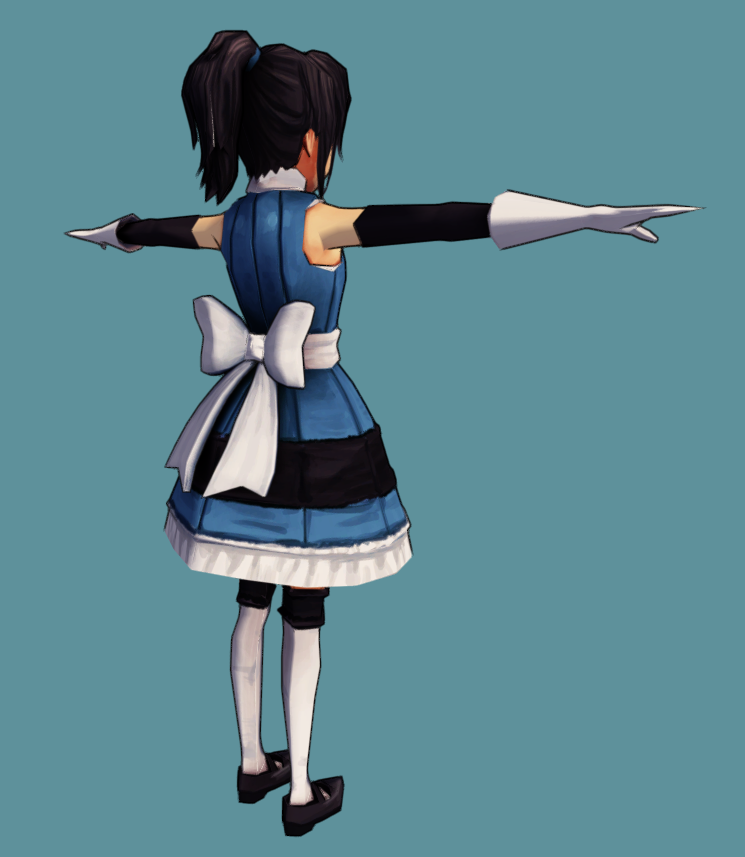
Sure. I'm doing another one in a week or two, so I can save WIP screenshots or something. I'm not sure how useful this is going to be for you without knowledge of 3D modeling, because it's hard to avoid technobabble, but in a nutshell, my process for the character models is this:
1. Get the naked base mesh I'm using into 3ds Max.
2. Model the clothes very low-poly, making sure there are no visible gaps in the geometry (so the ends of sleeves, etc. should be walled off with faces instead of gaping). Lot of extruding and fussing with edge loops and things like that. For close-fitting clothes, I usually detach and extrude parts of the body mesh, then move the vertices/edges/whatever around until it's right. For things like a coat with tails, I'll detach the torso, then extrude the edges at the bottom for the coat tails, then insert edge loops.
3. UV map everything. I'm doing about two materials per character right now, but you could put them all on one if you wanted to. I also like to pack my UVs by hand so they're easier to texture, but some pretty good automated packing solutions exist. I've usually been mirroring the UVs of things that are symmetrical unless the symmetry would be obvious and look bad. Notably, the face cannot be mirrored because I'm baking shadows into the diffuse, and the hair is asymmetrical.
4. Make a high-poly mesh with TurboSmooth. You can make edges and vertices crease so they don't get smoothed.
5. Bake normal and ambient occlusion maps with xNormal, which is free and also great. The normal map from the TurboSmoothed mesh is nice because it makes the lighting on the cel shader not look chunky even though the mesh is really low-poly.
6. Open the UV template in Photoshop, color all the islands with the right flat color, then slap the ambient occlusion map on top, set to multiply, and lighten + tint it some nice-looking color (maybe blue or purple). I also like to do a rough first pass of painting in Photoshop, especially for things like hair.
7. Take the model and diffuse into Mari (which is great but also kind of buggy and weird; I want to try Mudbox sometime too) for painting. Texturing without being able to actually paint on the mesh is hard, because you have to guess at things like the placement of cloth folds and highlights. It's also hard to paint on the mesh, though, so what I've been doing is blobbing the shadows or whatever on in the right spot in the 3D view, then switching to the UV view to clean up. You can actually look at both at once in a split screen in Mari, which is great.
8. Take the textures back into Photoshop for any final touchup, color adjustment, etc. needed.
9. Rig the model. This mainly involves skinwrapping it to the naked mesh in Max, fixing skinwrap problems on things like collars and hair, then adding bones for things like skirts and coattails. I'm still not great at rigging but can do basic things. I need to figure out how to use the rigging tools better and blend skin weights between bones.
So basically, this is great. I'm only using four tools instead of like 7-8, and most of the technical bullshit is gone, so now most of the work is actually making the art. Gone are the days of complicated retopologizing, fussing with five PBR maps to try to make photorealistic materials, spending a couple days trying to get all the details to project correctly from the high-poly mesh, etc.
@Xilef: Thanks! I kind of miss dreaming of making AAA graphics, but honestly, stylized is so much better for an indie. We just don't have the time or resources to compete with AAA studios on graphics, and if you can't meet the bar of the latest big titles, there's no point in doing a photorealistic style because gamers are so used to absurdly high-quality graphics.
Xilef":1lbn8cku said:
Could you explain your process for the environments for us? Your previous work with painting over the top of models was a massive (massive!) inspiration for my current generation of graphics technology.
Looks like that outline shader is screen-space. Is this correct? I started off with screen-space outlines with my 4th-gen tech but moved over to the classic inverted-normals geometry technique as that scales much-much better.
On the environments? Right, it's a screen-space shader. (I'm sure the cel shader on the characters probably uses the inverted normals trick but haven't actually looked at it.) I'm using a 3ds Max plugin called Pencil+, which does lines and cel shading. It's what anime studios use to make their CG look hand-drawn, and it's extremely good for both hard and soft cel shading. Downside is it won't work in real-time, but the outline shader is seriously really sophisticated and impressive. VRay also has an outline shader called VrayToon, but Pencil+'s is much better.
In a nutshell, here's my workflow for environments:
1. Find a SketchUp model on Google's 3D Warehouse that I like as a base. I ain't got time for modeling from scratch.
2. Replace any egregiously shitty furniture with better furniture from archive3d.net and otherwise touch up the environment till it looks good. That site is full of archviz crap, which has weird geometry and will never run in realtime (ditto to SketchUp stuff, which has fucking weird geometry), but since this is prerendered, who cares!
3. Assign Pencil+ materials to everything. You have to assign individual colors to each slot in the color ramp, and because I'm lazy, I set it up to automatically create the darker shades from multiply nodes. Now I just copy my template material and change the base color.
4. Turn on the lines and render. I have the lines and colors in different render passes so I can mask off the lines as needed in Photoshop. Another thing that's cool about Pencil+ is you can get outlines and internal lines in different render passes.
5. Set up a reflection pass and render again if the scene should have reflection. I need to figure out how to do reflections correctly in Pencil+, because my current solution is kind of hacky and weird (I only know how to do reflections at 100% reflectivity lol).
6. Render an ambient occlusion pass in VRay.
7. Take the base colors, lines, and AO into Photoshop and composite them. AO gets lightened and colored.
8. Do a little bit of painting touchup, like adding spec on metal, highlighting the edges of things a little bit, etc. I'm trying to keep the post-processing touchup minimal even if more would look better so that multiple backgrounds can be easily rendered from one scene.
9. Do color adjustments, add BLOOM (it must be realistic), etc.


")