Fast Cave Mapping
A tutorial on mapping caves by Dwight Delleva
The following tutorial can be applied when making other maps using the other cave dungeon tilesets.
You can also read the Portuguese version of this guide here translated by Gemstone.
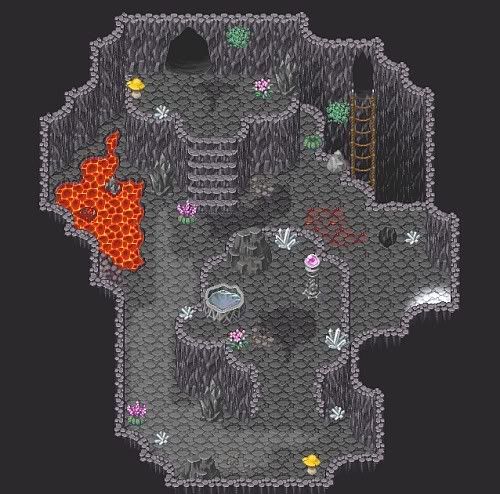
Note: The picture examples are simply done so you can easily understand the tile's use.Â
Contents:
Introduction
Tileset Review
Mapping Caves the Usual Way
Mapping Caves the Easier Way
Other Tilesets and Other Ways to Use Them
Credits:
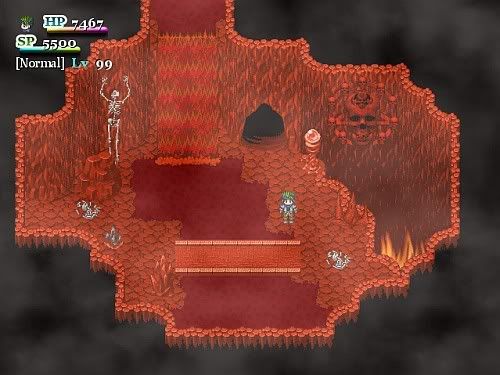
Rocky Cave - Unknown
Hell Tileset - Zanyzora
Tree Tileset - Unknown
Introduction:
The Drawing Buttons
Use the three drawing buttons at your convenience.
 Pencil - the pencil makes a small dot when you click on the mapping area, as you drag the mouse, you can make a line. Click this button to manually draw something like the line of the dark soil as shown in the picture below.Â
 Rectangle - the rectangle button makes a square as you drag your mouse.
 Ellipse - the ellipse button makes a circular shape.
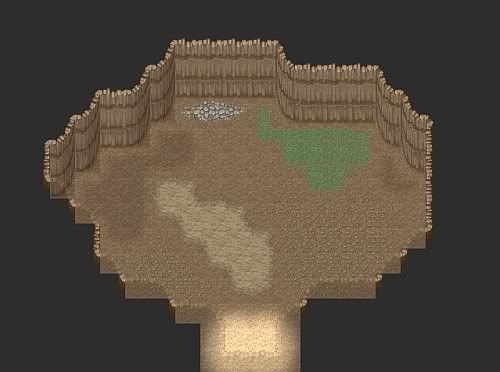
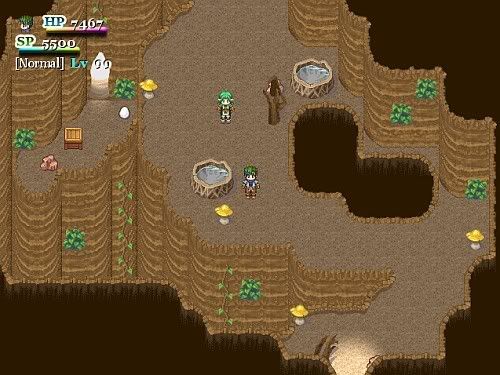
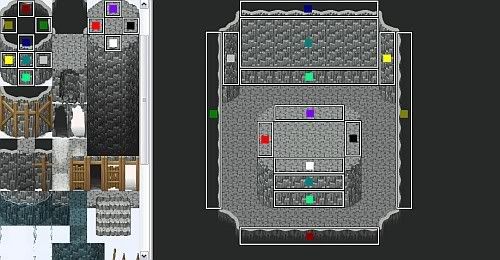
 Layer Buttons - These are the map layers. The orange color corresponds to the layer level. The icon in the farthest left side is the lower layer or we'll call it layer 1. The second icon after layer 1 is the middle layer or layer 2, the third icon is the upper layer or layer 3. The last blue cube is the event layer. This is useful when some tiles are missing when testing the game like for example, take a look at the picture below. Look at the orb as marked hidden under an elevated floor tile. To fix this problem, you just insert and event in the event layer.
By inserting an event in the event layer using the right tile, the orb becomes visible during game play.

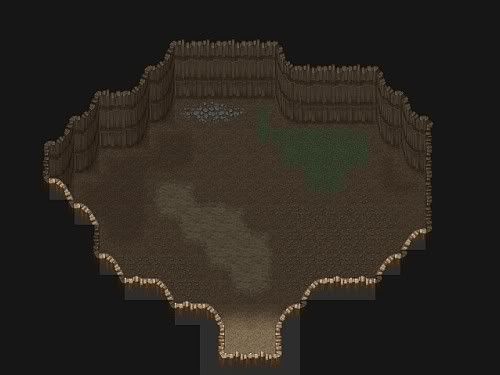
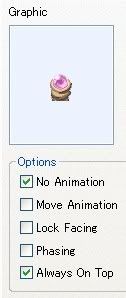
This is done by using the always on top option:
Tileset Review:
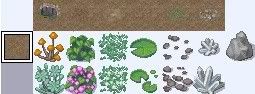
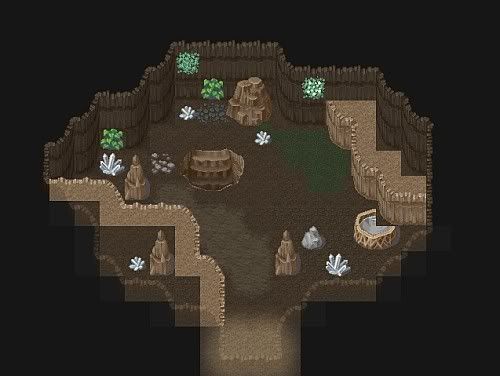
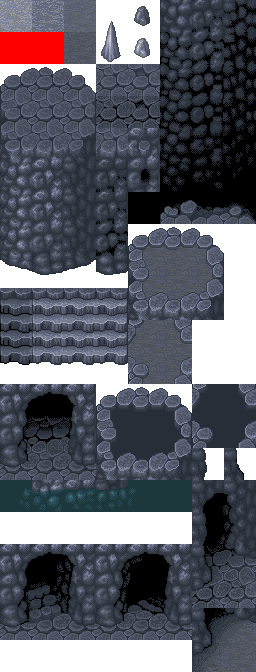
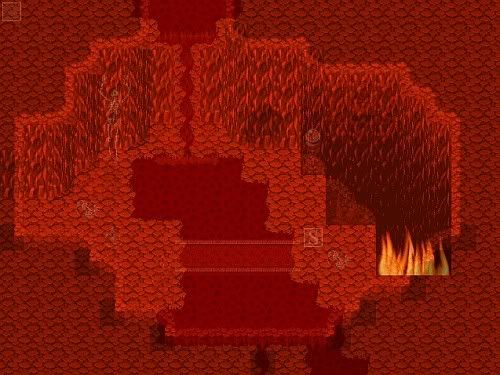
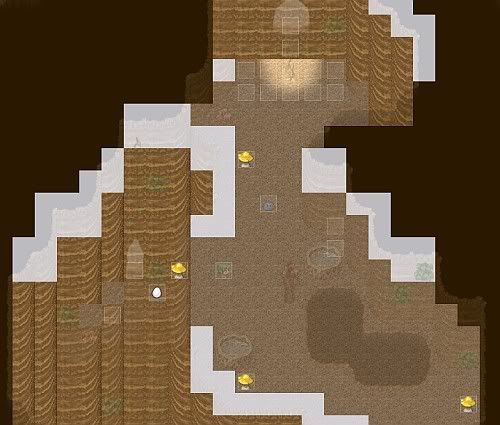
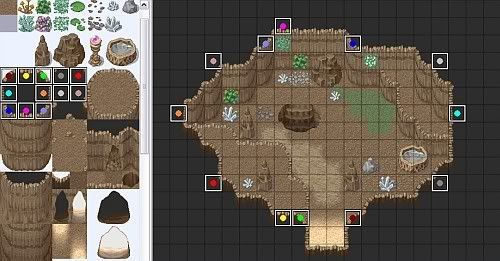
The marked tiles in the picture below are what I call the elevated floor tiles. The upper tiles can be used in layer 2 or 3 while the lower tiles can be used in layer 1. The tiles marked with "S" are used with the elevated floor tiles.

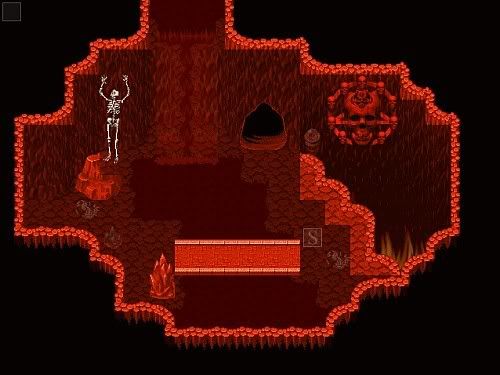
For you hero get to the upper level of the elevated floors of your cave, we can use the following marked tiles.
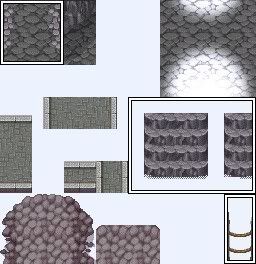
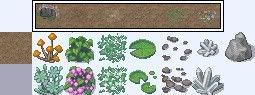
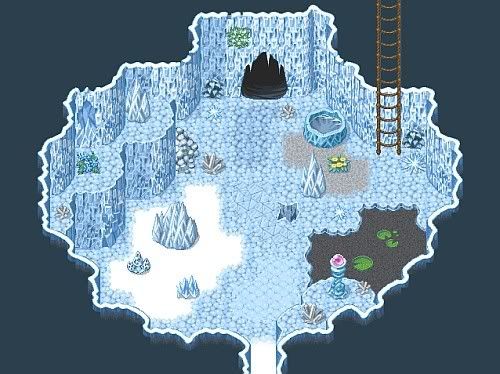
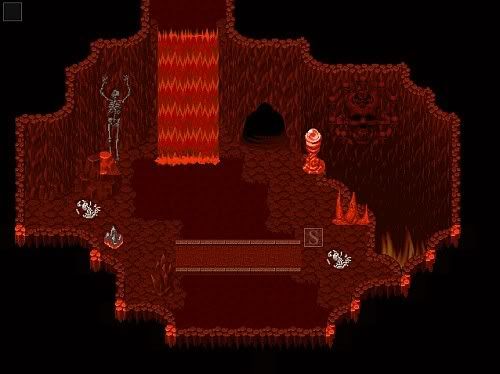
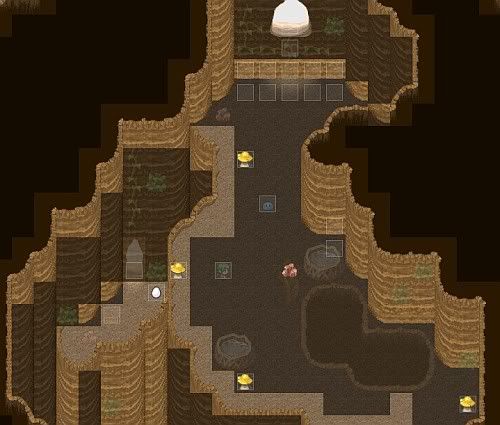
Look below example on how the tiles can be used. The stairs can be used in layer 2 or 3. The slope as seen under can be used in layer 1. The rope ladders can even be used like the one I did below.
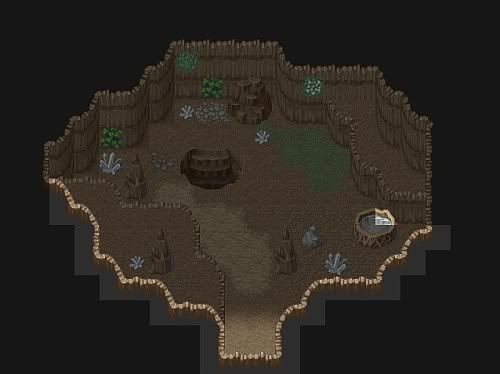
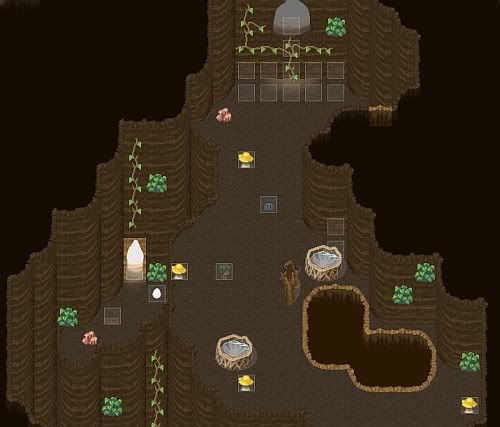
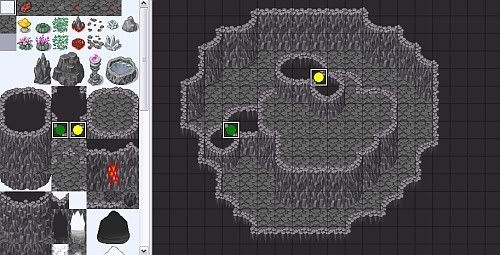
The following marked tiles (below) are the tiles that I refer as edges. They can be used to add the darker spaces that makes up the shape of the cave.
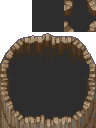
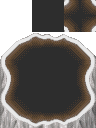
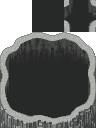
The following marked tiles (below) are the cave's walls that can be used in layer 1. The tiles with broken lines are still part of the walls of the cave. The longer wall below with the shades darkening are used for pits. Other wall parts are marked and seen in the next fourth picture.
Look below example on how the pit tiles can be used.
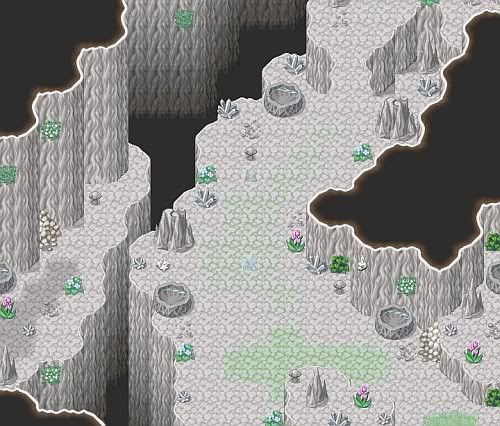
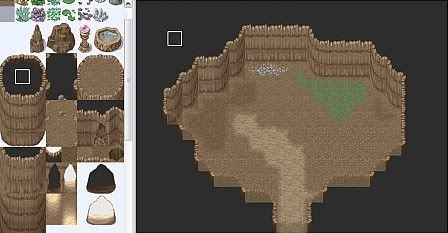
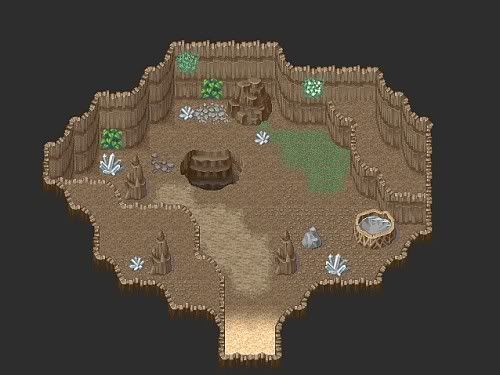
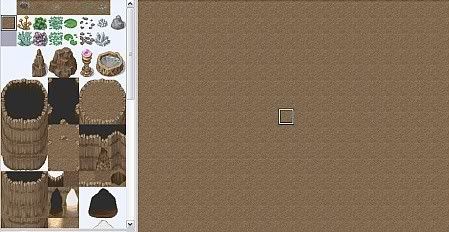
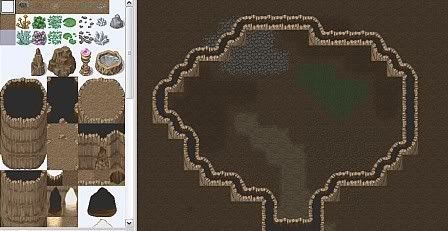
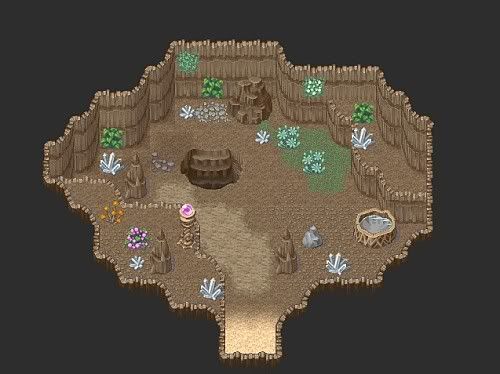
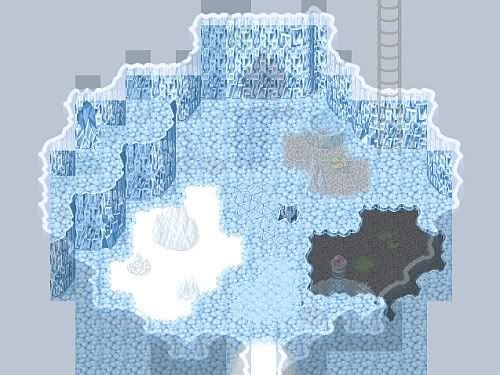
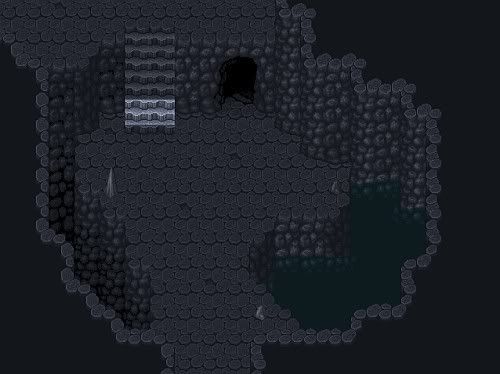
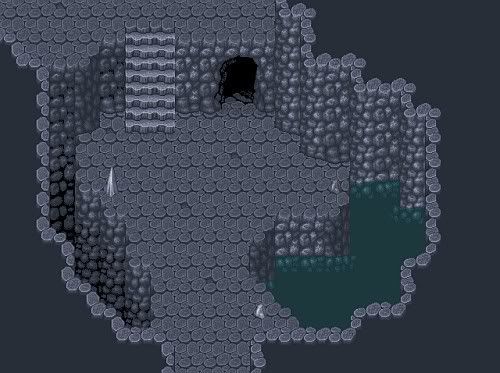
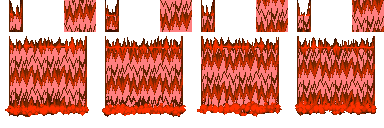
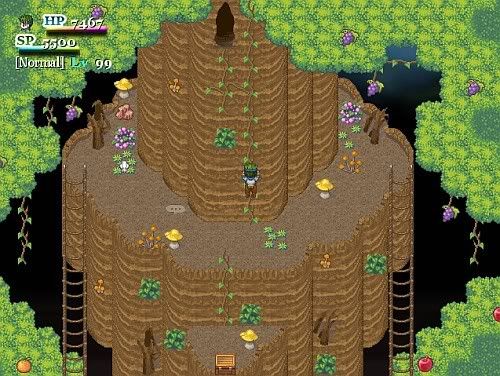
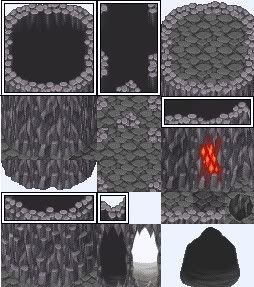
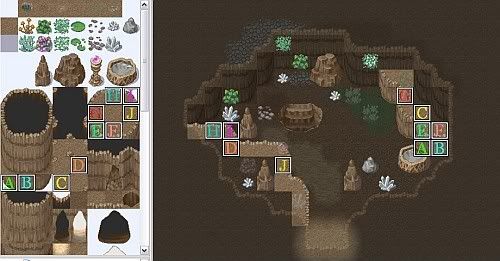
Look at the left side of the picture (below) to see the tiles used in the mapping area. The same tiles could be found in other cave tilesets only with their appearance and other elements changed. Layer 1 is the best layer to put on the walls and the floor autotiles.

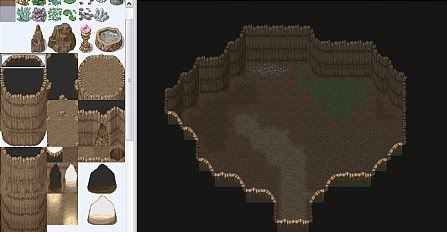
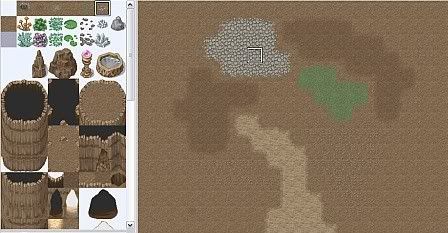
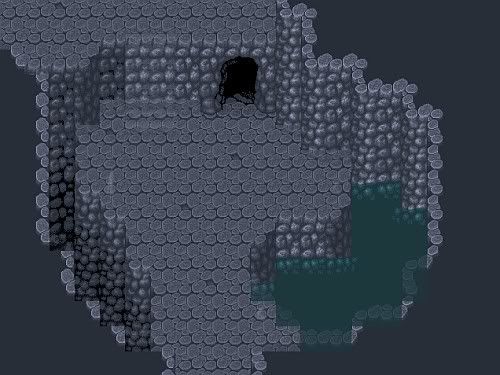
Look at the picture below to learn how to extend cave walls.
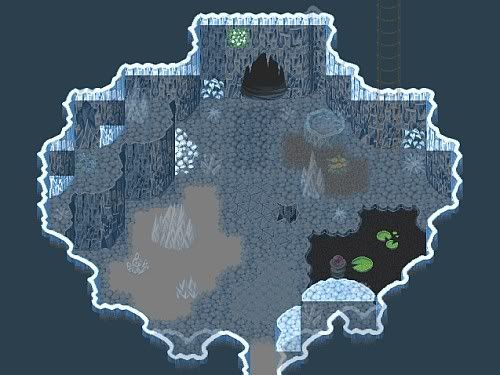
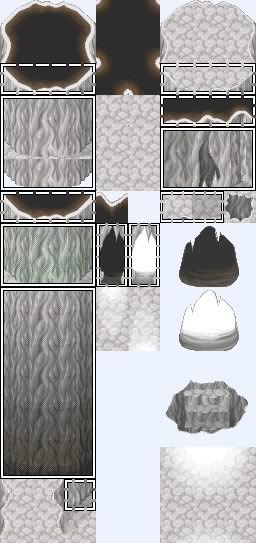
The marked tiles on the tileset seen on the left side correspond to the colors in the marked tiles on the mapping area. It can be used as what you can find in the picture examples below.

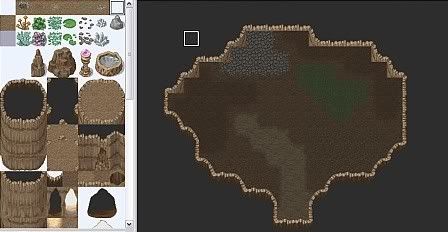
The marked tiles above picture can be used the same way as with the next marked tiles in the next picture.
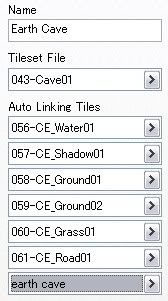
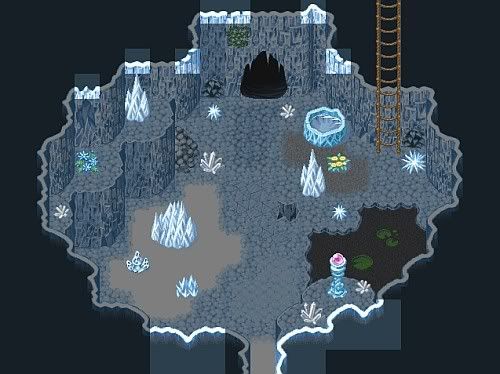
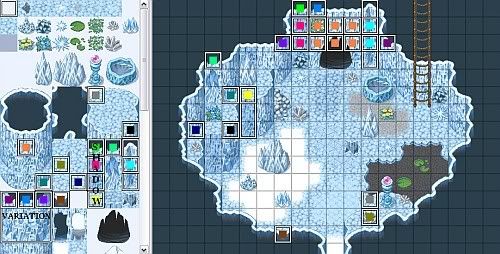
For the usual cave mapping, the upper half of the cave (from the orange marked tile to the light blue tile including the red and gray) below are put in layer 1 while the lower area, the cave's edges (tiles marked with yellow, green, and brown) can be put in layer 2 or 3.Â
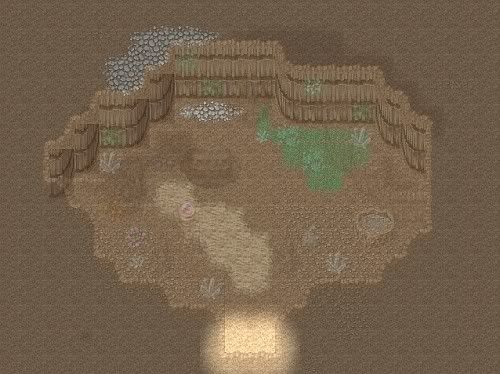
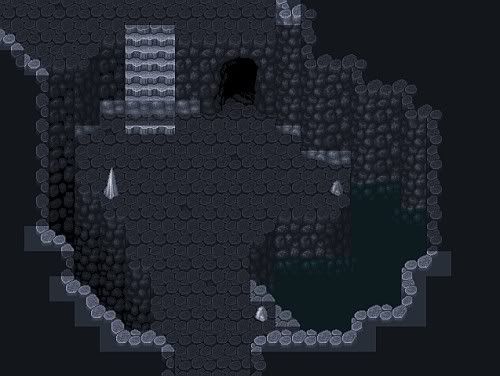
If we add the elevated floor of the cave in layer 2, we should put the edges in layer 3. If you don't put the elevated floor tiles, you can also use layer 2. You can always use any layer to place your tiles. Test play and make sure that everything looks fine. When following another approach (learn this on the section "mapping caves the easier way"), you can either use layer 2 or layer 3 for the cave autotile. Read the section on how to easily design cave's using the prepared autotiles.
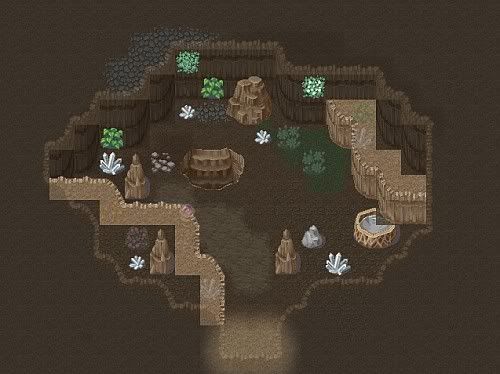
The orange marked tile on the tileset below, can be used to extend the height and width of your caves. The same with the pink and light blue tiles. For a "variation" on the walls, you can use the following tiles as marked below. To add shadows on the walls, use the marked tiles as seen below. To really understand the marked tiles, refer to the pictures under "mapping caves the easier way". The yellow marked tile with the stretched rectangle in the mapping area is the shadow of the wall.
A tutorial on mapping caves by Dwight Delleva
The following tutorial can be applied when making other maps using the other cave dungeon tilesets.
You can also read the Portuguese version of this guide here translated by Gemstone.
Note: The picture examples are simply done so you can easily understand the tile's use.Â
Contents:
Introduction
Tileset Review
Mapping Caves the Usual Way
Mapping Caves the Easier Way
Other Tilesets and Other Ways to Use Them
Credits:
Rocky Cave - Unknown
Hell Tileset - Zanyzora
Tree Tileset - Unknown
Introduction:
The Drawing Buttons
Use the three drawing buttons at your convenience.
By inserting an event in the event layer using the right tile, the orb becomes visible during game play.
This is done by using the always on top option:
Tileset Review:
The marked tiles in the picture below are what I call the elevated floor tiles. The upper tiles can be used in layer 2 or 3 while the lower tiles can be used in layer 1. The tiles marked with "S" are used with the elevated floor tiles.
For you hero get to the upper level of the elevated floors of your cave, we can use the following marked tiles.
Look below example on how the tiles can be used. The stairs can be used in layer 2 or 3. The slope as seen under can be used in layer 1. The rope ladders can even be used like the one I did below.
The following marked tiles (below) are the tiles that I refer as edges. They can be used to add the darker spaces that makes up the shape of the cave.
The following marked tiles (below) are the cave's walls that can be used in layer 1. The tiles with broken lines are still part of the walls of the cave. The longer wall below with the shades darkening are used for pits. Other wall parts are marked and seen in the next fourth picture.
Look below example on how the pit tiles can be used.
Look at the left side of the picture (below) to see the tiles used in the mapping area. The same tiles could be found in other cave tilesets only with their appearance and other elements changed. Layer 1 is the best layer to put on the walls and the floor autotiles.
Look at the picture below to learn how to extend cave walls.
The marked tiles on the tileset seen on the left side correspond to the colors in the marked tiles on the mapping area. It can be used as what you can find in the picture examples below.
The marked tiles above picture can be used the same way as with the next marked tiles in the next picture.
For the usual cave mapping, the upper half of the cave (from the orange marked tile to the light blue tile including the red and gray) below are put in layer 1 while the lower area, the cave's edges (tiles marked with yellow, green, and brown) can be put in layer 2 or 3.Â
If we add the elevated floor of the cave in layer 2, we should put the edges in layer 3. If you don't put the elevated floor tiles, you can also use layer 2. You can always use any layer to place your tiles. Test play and make sure that everything looks fine. When following another approach (learn this on the section "mapping caves the easier way"), you can either use layer 2 or layer 3 for the cave autotile. Read the section on how to easily design cave's using the prepared autotiles.
The orange marked tile on the tileset below, can be used to extend the height and width of your caves. The same with the pink and light blue tiles. For a "variation" on the walls, you can use the following tiles as marked below. To add shadows on the walls, use the marked tiles as seen below. To really understand the marked tiles, refer to the pictures under "mapping caves the easier way". The yellow marked tile with the stretched rectangle in the mapping area is the shadow of the wall.