
Now complete & Avaliable for download. Please post any problems or glitches. I will fix them. The game should play from start to finish, but you never know. I did test it before uploading it, but made a few small changes just before. I hope you can truly appreciate all of the hard work I've put into this project.
Crepusculum will not include the input disabler, but may later in a special edition.
Also, I have a special surprise coming soon ...
Alexis, upon visiting, was captivated by Black River, a northeastern city in America. The city was beautiful and somehow alluring, as Alexis decided to move to Black River. There was some strange quality to Black River ... but she could not quite place, in her mind, what it was.
Suddenly, after having moved in, Alexis watched as the city seemed to be thrust in a state of silent chaos. Businesses shut down, families packed their bags and went on "vacation," and people barely spoke. A neighbor tried to persuade Alexis to leave, but would not tell her why.
"It was as if they were not only lying to me, but they were lying to themselves."
Night fell early, and Alexis was all alone.

Alexis
Age: 22
Occupation: Freelance Photographer

Chris
Age: 19
Occupation: Record Store Manager

Ellie
Age: 12
Occupation: Elementary School Student
Other Characters play a role in the Dark City Story ...
Crepusculum is a survival horror game made with RPG Maker XP. It is largely cinematic and story oriented, however that doesn't mean that there aren't some tense moments in the game. Black River isn't exactly a safe place right now and there are some pretty nasty monsters waiting for you.
In Crepusculum your aim is not to fight enemies, but to avoid them ... and this is no easy task. At times many enemies will be after you at once ... But what can you do to defend yourself?
Stun Gun
You can use the stun gun to avoid being damaged by slow moving enemies (if an enemy is too small for Alexis to reach quickly enough, she may not be able to defend herself either). Alexis can use the stun gun four times before it is deleted (it is an automatic response).
Batteries
These replenish the stun gun's battery power completely. Stun away, but beware. There are not too many of these. Be cautious at all times.
Medicinal Herbs
There are several herbs throughout the game that may heal your wounds, yet they are scattered far and few between.
Puzzles
There are also many puzzles Alexis must solve. Alexis is always given the choice to Move, Use, or Combine objects (not specific items mind you). This can include the wrench you have in your pocket or the box over by that wall. In order to tell Alexis what object(s) she is going to perform an action on you must enter it in with text.
In Crepusculum there is a ranking system that determines how well you have played. This is based on a wide variety of aspects of the game, including how fast you completed the game, how many medicinal herbs you used, etc. If you manage to score an A B or C rank you can unlock an extra cutscene at the end of the game. Each rank has one more cutscene than the last, so to know the true end you'll have to get A rank. D rank does not have any cutscenes that you can unlock.
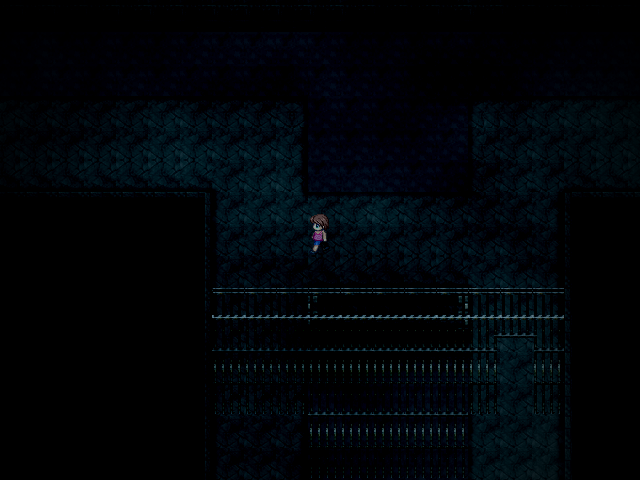
Alexis makes her way through the sewer.
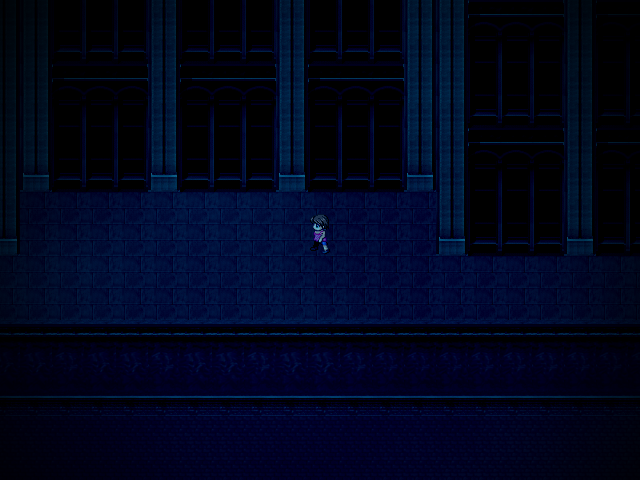
Alexis runs past the Police Precinct.
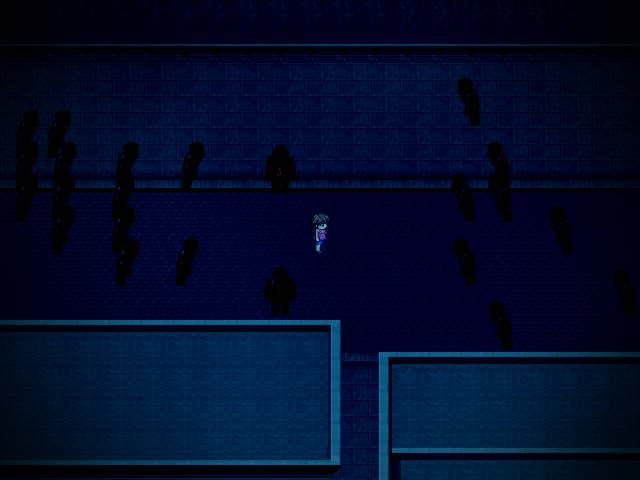
Alexis makes her way through the city streets, as she draws the interest of many zombies.
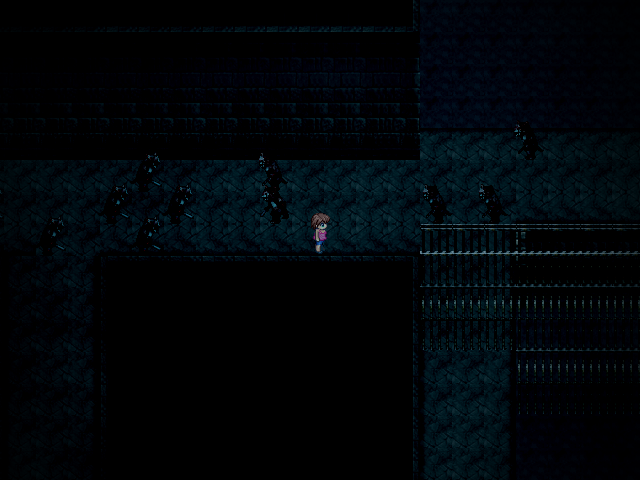
Alexis discovers she isn't the only one in a certain stretch of the sewers, this time around.
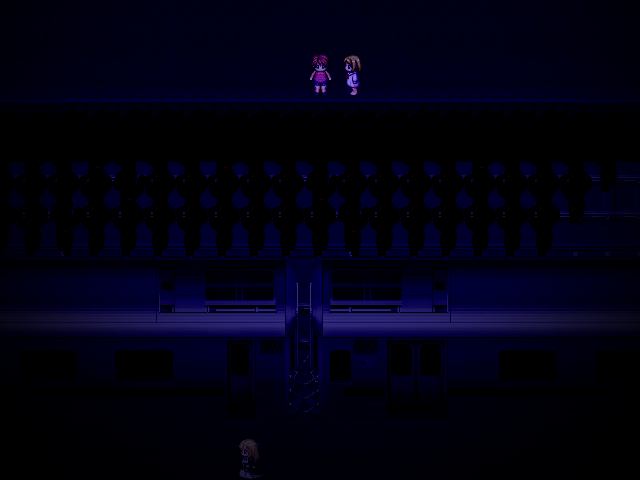
Alexis notices someone in the shadows, with Ellie beside her.
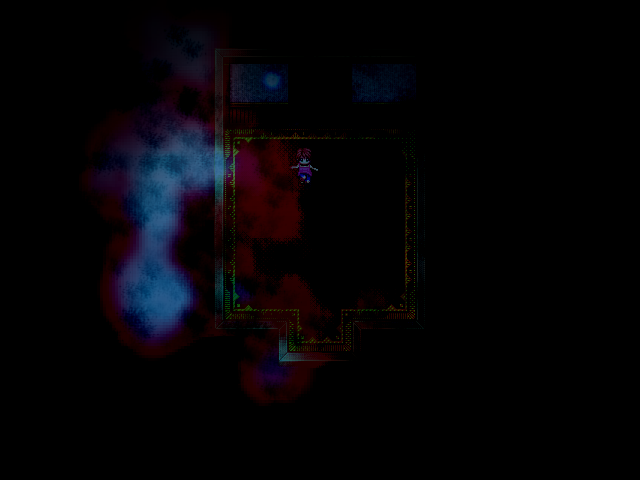
The drama begins to enfold inside the elevator.
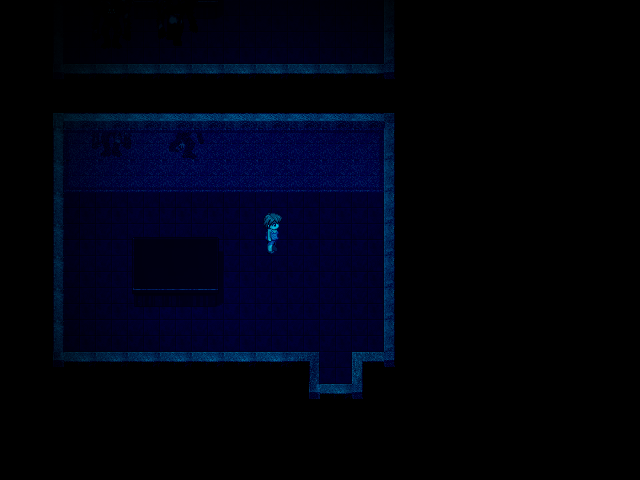
The only thing that separates Alexis from her foes is glass ...
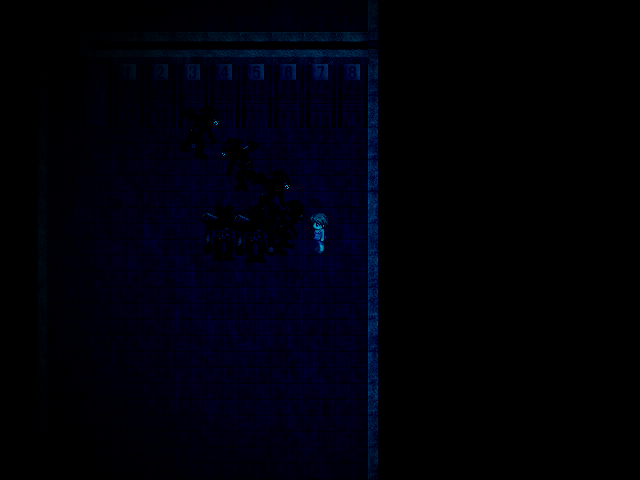
Alexis is having a little trouble in the Police Precinct.
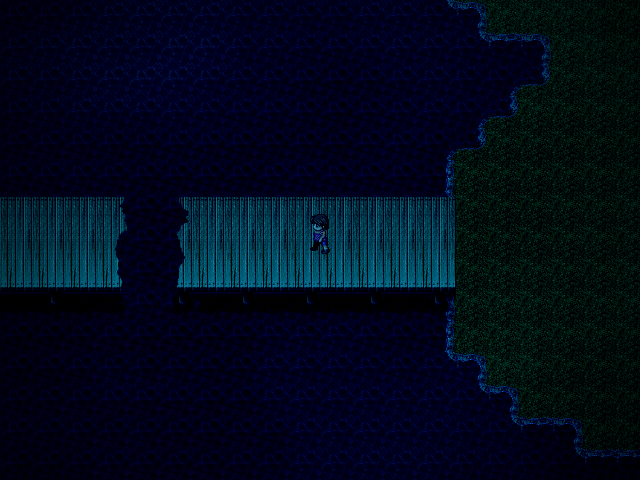
It's too big a gap to jump, Alexis will have to find some way to cross.
Italicized portions are edited by me.
When the power goes out you gain control of Alexis. Make your way to her dresser and check both drawers to receive Stun Gun, Stun Gun Note, and Battery. Examine the blue chest in the room to save before leaving.
Outside of Alexis' room there is an elevator, but with the power out it won't work. Let's get the battery plugs the EMERGENCY sign lists. First stop is the room in the top right corner of the floor. Check the vent in the top right corner of the room to receive your first Battery Plug.
Now, we need a way into the Super's room. Leave the current room and examine the potted plant in the corner. It looks like there are leaves covering something. Examine the plant again to see the options USE, MOVE, and COMBINE. We need to move the leaves so choose MOVE, and then type in capitals LEAVES. The leaves will move revealing the Super's key. Take the key then make your way down the top hallway to unlock the Super's room. Inside you'll find a glowing spot where you'll receive: Battery Plug, and Hammer.
With both Battery Plugs make your way back to Alexis' room to save, then head to the elevator. To get the elevator working you must USE BATTERY PLUGS. Once the elevator makes a grinding noise you'll know it's working, so examine the door to enter and escape the scary shadows chasing you around the floor.
Watch the lovely cut scene until you regain control of Alexis. Be careful to avoid touching the zombies. If you do, you'll automatically zap them with the stun gun until the battery runs out. Make sure to use another battery when the stun gun empties or you?ll receive damage every time you're touched by a zombie!
Make your way down while avoiding the zombies to reach the exit of the apartment building. Once outside you'll get to watch another nice cut scene. When you have control, grab the glowing (item name to be filled in at a later time) to the right before running to the left along the street. When you see a blonde little girl in a night gown it'll trigger a cut scene.
When you gain control head to the right to pick up Board. From there make your way to the lower left to pick up another Board along the man-made stream. If you head down you can pick up a Battery laying around next to the bridge. Follow the right side of the river to end up at the entrance of the bridge. Along the way pick up a Medicinal Herb, and then the last Board behind a bench. Now we can cross the bridge. If you stand at the center of the bridge next to the hole you can Use BOARDS.
After crossing the large bridge head down to cross a smaller one. Make your way to the right until a cut scene starts. Be careful since you?ll regain control of your character, even if you don't realize it. Once control is return to you quickly run to the right along the wall until you see an uncovered man hole. Jump in to enter the sewers.
After crossing the large bridge head down to cross a smaller one. Make your way to the right until a cut scene starts. Be careful since you?ll regain control of your character, even if you don't realize it. Once control is return to you quickly run to the right along the wall until you see an uncovered man hole. Jump in to enter the sewers.
Save at the chest before you make your way. For this part of the sewers: MAKE SURE TO ALWAYS HAVE ALEXIS AGAINST A WALL. You'll see what I'm talking about soon enough! (I warned you!) First, head down to pick up a Medicinal Herb while avoiding a zombie. Return to the fork and head up along the wall. You?ll swing around to the other side of the sewer gate. Head down to see an opening in the gate. WAIT before going into the opening. If you stand next to the opening a zombie will run by you, and you can avoid being munched on. Pick up a Battery before continuing making your way through the sewers.
The rest of the path will be straightforward. When you spot Ellie a gang of zombies will come out to have a snack made of your flesh. Grab Ellie (touch her) and escape! When you go through the third door you?ll reach the train station.
The rest of the path will be straightforward. When you spot Ellie a gang of zombies will come out to have a snack made of your flesh. Grab Ellie (touch her) and escape! When you go through the third door you?ll reach the train station.
After heading to the left to trigger a cut scene you?ll regain control. Run up the staircase to the left. Be careful since this hallway is full of zombies. Go up the staircase to the left to reach the train platform. You can save at the chest, and pick up a Pass from the machine to the right.
Now that you have the Pass you can enter the train turnstiles. First enter the right one. Avoid the zombies and go down the staircase on the bottom right. You?ll come out on the other side of the train you saw earlier. If you follow along the edge of the train Alexis will eventually spot Duct Tape for you next to a tall box. Move BOXES. Pick up the Duct Tape, Newspaper Clipping, and Medicinal Herb before returning to the save chest.
From the save chest enter the left turnstile. Avoid the zombies and go down the bottom right staircase. Follow the hallway until you see a dead body. Pick up Incriminating Note and Handle before returning to the save chest.
At the left door next to the save chest you?ll need to Combine DUCT TAPE and HANDLE. (Always in alphabetical order.) Make sure to save one last time before opening the door.
After triggering the cut scene a boss will ?erupt? from the magic circle on the floor. This time the only strategy you have is to avoid the boss. I?ve always found that running to one end of the room and waiting until the zombies catch up to me then the other has worked quite well. Eventually the screen will noticeably flash returning you to the world. Alexis will run out of the subway station to the streets.
Ah, the handy save chest. Pick up the Storybook Page then make your way through the streets avoiding the zombies until you reach a fork in the road. Head up to pick up Glowing Key and Battery. Now that you have the key you can advance. Return to the fork and continue down. Eventually you?ll see an anomaly in the growing walls. The Glowing Key will automatically be used. Head to left picking up a Storybook Page along the way. A cut scene will trigger taking you into the police station.
As soon as you have control of Alexis grab the glowing item to receive Gun, Ammunition, and Gun Note. Position Alexis so she can shoot at the tentacles filling the doorway. Shoot to your hearts content. If a squirmy zombie appears just move away until it disappears and continue to shoot. If you run out of bullets you can always refill it with Ammunition in the item menu. Eventually you?ll kill the boss. Congratulations on killing the first monster!
The First Floor
Head up towards the door and pick up the Storybook Page before opening it. This floor contains two zombies who like to jump out at you so be on guard. The first zombie mills around the couches so move around slowly to have time to get out of the way. Head downwards to a lone door next to darkness. Quickly enter the door to avoid the second zombie who?ll jump out and have you for dinner. Inside the room there are a bunch of misconstrued chairs. Move the chair on the right hand wall to grab the 1F Key. Return to where the couches are and enter the door on the right. There?ll be a save chest. After saving examine the two leftmost file cabinets. Take note of the missing numbers: 2,3,5, and 7. Exit the room and head to the end of the hallway. Enter the stairwell next to the elevator to go to the second floor.
The Second Floor
Go all the way to the left end of the hallway and continuously examine the hole in the wall to receive Newspaper Clipping. Return to the elevator and head down until you see two doorways across from each other. Enter the top door and examine the third locker from the left side of the top row to snag a Small Key. Return to the stairwell and go to the third floor.
The Third Floor
Go down and enter the lower right room of the floor. Quickly grab the Medicinal Herb off the table and exit the room. Return the fork in the hallway and take the path to the left. Enter the second doorway to the office room. Examine the second desk up from the doorway to receive the Interrogation Room Key Ring. Exit the room and make your way to the bottom left corner of the floor. Enter the room and examine the back row of bookshelves to find the Crescent Tree Page. Return to the second floor.
Second Floor Revisited
Go down the second branching hallway and enter the only door there using the Interrogation Room Key. Snag the Medicinal Herb then break the glass separating you from the zombies. Use HAMMER. Avoid the zombies and grab the 2F Key before leaving the room. Enter the room just above you and examine the files to receive Chemical B-25. Exit, then enter the room to the right. Pick up Battery and Chemical 42 off the counter. Now you can get rid of that pesky plaster between the elevator and stairwell on this floor. Combine CHEMICAL 42 and CHEMICAL B-25 to snag 3F Key Copy. (Note: Who?s hiding keys in the walls in a police station?) Return to the third floor.
Third Floor Revisited
Go past the office room and enter the top right room. Examine the steel door to input a code. Remember those numbers from the first floor? Enter 2357. Grab the B1F Key and Police Chief?s Key. Exit, then enter the room to the left. Examine the cabinets at the back of the room to find some case headlines. Now head to the basement via the stairwell.
The Darkness Beneath
Go to the end of the top hallway and enter the bottom door. There are a gang of zombies so be careful s you grab the Holding Cell Key at the bottom of the room. Exit the room and enter the second door to the right. After the cut scene you?ll end up in the sewers.
Handy-dandy save chest. This part will be difficult since the zombies here carry weapons and Alexis? stun gun isn?t effective. They?re fast so keep on your toes. Continuously make your way to the left. It doesn?t matter if you go up or down at the forks since it all leads to the same place. However, if you choose the upper route, watch out! You'll have to move quickly; There's a hoard of demons waiting for you! When you reach the end there?s a door hidden in the darkness on the top wall.
Watch out for the slow zombies lurking around. Follow along the right building to snag the first Glowing Key. Make your way down grabbing the second Glowing Key in the niche. Examine the wall anomaly to open it using a Glowing Key. Follow the right wall to the entrance of an alley hidden behind a tree. Snatch the third Glowing Key then return to the streets. Go to the right, snagging the fourth Glowing Key in the bottom corner of the streets. Head up and open the wall anomaly. Wrap around the left wall to encounter another wall anomaly. Open it then head up to run into another one. Use your last Glowing Key to open it then go to the left to enter the church.
When you regain control go down through two doors to enter the area marked B-01, L-01. The first room down in this area has a save chest and Cargo Key. Second room down has the second Cargo Key. Exit this area and enter the room to the right B-01, L-02. The first room down contains a Medicinal Herb hidden under a pipe. Exit the area and go to the right end of the hallway. Examine the elevator and Use CARGO KEYS. It?ll turn the elevator on for later. Now to enter the third door from the left. Enter the bottom door. Enter the first door starting clockwise to snag the Newspaper Clipping. Grab the Parable Book Page off the second right bookshelf in the third clockwise door. Exit the room and head to the left, picking up the Storybook Page along the way. Enter the door in the left hand corner of the area and pick up the Crowbar. Return to where you entered the area. There?ll be an elevator to the right. Use CROWBAR on the elevator and hop in.
When you exit the elevator be careful of the slow zombies. Avoid them and go down through the door. Enter the third door on the right and turn on the power in the top right corner of the room. The zombies will now disappear. Exit the generator room and enter the room in the center. Examine the glowing controls on the wall to activate the moving platform. In front of the cargo elevator is a box. First try your hand at opening the box by Use CROWBAR, and when that doesn?t work Move BOX to shove it in the elevator. Go back across the moving platform and exit the room. Examine the glowing wall controls in the right hand corner of the hallway to active the other moving platform. Follow the linear pathway picking up the Emblem Key along the way. After the cut scene you?ll receive the Church Key. Return to the hallway and enter the door on the bottom left corner B-02, H-03. After the cut scene follow the path to enter the pipe room. Examine the pipes in the top left corner of the room. Return to very first area (door you entered after locking Ellie in a room.)
Press the eject button on the cargo elevator then Move BOX to the trash compactor room. Activate the compactor and snatch the Wrench left behind. Return to the pipe room and Use WRENCH on the pipes. When you exit the room fish zombies will give chase. The stun gun is ineffective against them, so run and avoid them as you make your way back to the first area. Enter B-01, L-02 the third room down and examine the chests next to the beds to receive two Emblem Keys. B-01, L-01 third room contains a Sketch, and the chests contain three Emblem Keys. Examine the flashing wall for a mini-cut scene. Return to the hallway and enter the third door from the left. Go down through the door as a smart monster gives chase. Run to the bottom of the area and enter the center left door using the Church Key. After the cut scene save at the white chest. Examine the wall next to the chest and Use EMBLEM KEYS. A cut scene will trigger taking you to the final boss.
When you have control snatch the Ether Sword and run to the left "fruit" (mass of bodies). Attack it twice with the W key then run down until the boss attacks you with gas. Run back up and attack it twice again. Repeat this tactic until both trees are blacked out. Now for the boss. Avoid Ellie and stand in front of the boss. Continuously attack him until he flashes a color. Here?s a list of his attack colors, move accordingly to avoid them:
Dark blue/purple: Right darkness attack.
Medium blue: Left darkness attack.
Light blue: Center light attack.
Just hack away at him and avoid his attacks. You?ll down him fairly quick. Congratulations! The rest of the game in linear, so have fun and stay on your toes!
Dark blue/purple: Right darkness attack.
Medium blue: Left darkness attack.
Light blue: Center light attack.
Just hack away at him and avoid his attacks. You?ll down him fairly quick. Congratulations! The rest of the game in linear, so have fun and stay on your toes!
Version 1.1:
+ Graphical updates for "Growing Walls" and "Glowing Gates."
+ New, updated version of park with more enemies, an updated puzzle, and music!
+ Fixed the following bugs.
- Removed passability through water & prison bars.
+ Added save point after first boss fight.
Version 1.3:
+ Fixed passability glitch.
+ Fixed double Alexis glitch.
+ Added a new secret file.
+ Fixed dialog
+ Fixed file name!
Version 1.4
+ Fixed sewer glitch.
+ Fixed boards glitch.
Things to think about:
(don't read this unless you've been diligent on obtaining newspaper notes and other various archive notes)
+ What is the significance of the hurricane, Lilith, from thirty years ago?
+ Why did it disappear?
+ What is the significance of the symbol painted on main street?
+ What is it's relationship to the hurricane?
+ What is the significance of the creature that stalks you in the shelter under the church, and how is it related to Calvin?
+ Were the storybook pages really from a storybook? ...
Things to try for:
+ Obtaining all story-related notes.
+ Obtaining the secret story-related notes and viewing the secret flashback cutscene.
+ Destroying the monster that stalks you in the shelter under the church.
+ A Rank, to unlock all 3 special cutscenes (the third is a continuation of the second).
A
+ KitanaSanti
B
+ Arcanum
C
D
E
+ KitanaSanti
B
+ Arcanum
C
D
E
NOTE: DO NOT SKIP THROUGH TEXT DURING CUTSCENES. IT WILL RUIN THE SCENE! (AND MAYBE YOUR GAME)
